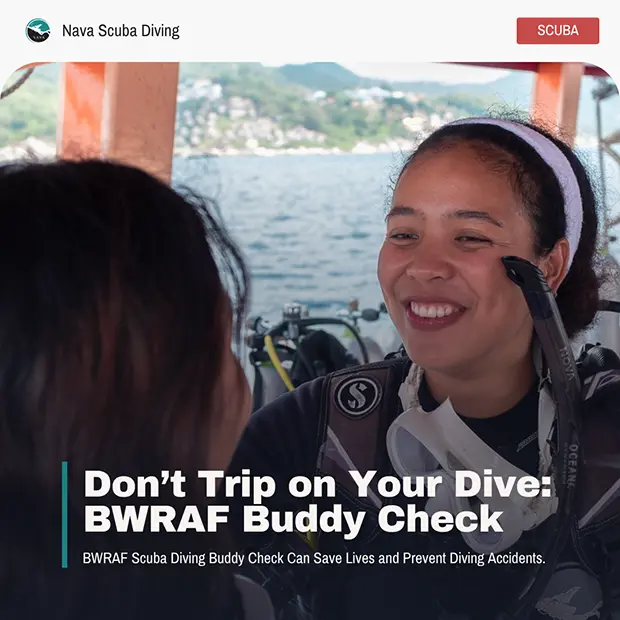
Scuba diving buddy check is a small step that can save lives
Think about it. You wouldn’t fly in a plane if the pilot didn’t do a pre-flight check, right? Well, scuba diving is exactly the same. Before you jump into the big blue, you need a scuba diving buddy check. It takes just a few minutes. Every seasoned diver knows that a tiny gear problem on the boat can turn into a massive headache when you are 18 meters underwater. Why risk it?
Here at Nava Scuba Diving in Koh Tao, we want to remind every diver, from total newbies to seasoned pros, that a pre-dive safety check is non-negotiable, and that you learn from Koh Tao Diving Course. Plus, we are going to break down the famous BWRAF scuba diving formula. It is an easy, foolproof way to check your gear and your buddy’s gear before every single dive.
What is a Scuba Diving Buddy Check & Why Should You Care?
A buddy check is a quick but thorough vibe check for your scuba gear. It is the moment you and your dive buddy inspect each other’s equipment to make sure everything is working, connected, and ready to go. No skipping. No guessing.
This isn’t just a suggestion. It is a global safety standard. If you take a Diving Course Koh Tao with us, this is one of the very first things you will learn. But why is the PADI buddy check steps so hyped up? Let’s break it down.
- It catches gear failures early: Scuba diving uses a lot of working parts. You have a tank, a BCD, regulators, and weights. If one thing is off, the buddy check catches it on the boat, not underwater.
- It fights human error: We are all human. We forget things. Even dive masters with thousands of dives can forget to clip a buckle. Having your buddy’s eyes on your gear is the ultimate backup plan.
- You learn your buddy’s setup: Gear comes in all shapes and sizes. Doing a check helps you find your buddy’s alternate air source, weight releases, and BCD dumps. If an emergency happens, you won’t be guessing where things are.
- It boosts your confidence: Scuba diving is mostly mental. When you know 100% that your gear is solid, you can relax, breathe easy, and actually enjoy the fish and the reefs.
- It prevents accidents: Most scuba accidents are totally preventable. Taking two minutes to do a pre-dive safety check drastically drops the chances of anything going wrong.
Cracking the Code: What Does BWRAF Stand For?
Okay, so you know you need to check the gear. But how do you remember what to check without bringing a clipboard on the boat? Enter: BWRAF.
BWRAF is the holy grail of scuba acronyms. It is the standard checklist used worldwide to make sure you don’t miss a single step. What does BWRAF stand for? It stands for BCD, Weights, Releases, Air, and Final Check.
To make it easy to remember, divers have come up with some pretty funny phrases. Pick the one that sticks in your brain:
- Begin With Review And Friend
- Beans With Rice And Fish
- Because We Really Ain’t Fish
- Barry White Records Are Funky
- Beer With Ribs And Fries (A post-dive favorite!)
No matter which funny phrase you use, the order of the letters never changes. Let’s do a deep dive into each letter of the BWRAF scuba diving check so you can dive like a pro.
B – BCD (Buoyancy Control Device)
The “B” in BWRAF is for BCD. Your BCD is your life jacket. It helps you float on the surface and stay neutrally buoyant (hovering like a ninja) underwater. You need to know it inflates and deflates perfectly
How to Test the BCD Inflation
First, test the low-pressure inflator button. Press it and listen for the air filling the jacket. Keep filling it until you hear the over-pressure valve “pop” and release air. This proves the jacket can hold air and won’t pop like a balloon.
How to Test the BCD Deflation
Next, let the air out. Try the deflate button on the inflator hose. Then, pull the dump valves (usually on the right shoulder and the lower back). Make sure the air escapes smoothly. If your buddy needs help deflating underwater, you now know exactly where their dump valves are.
What happens if you skip this?: Imagine jumping into the ocean, trying to inflate your BCD to float, and… nothing happens. You’d start sinking right away. Always check the BCD.
W – Weights
The “W” stands for Weights. We humans, are naturally floaty, especially in salty ocean water. Weights help us get down to the reef. They might be on a traditional weight belt around your waist, or tucked away in integrated weight pockets in your BCD.
A weight too light will make it hard to descend, while a weight too heavy will drag you down too fast and make you burn through all the air. It’s also very important to understand how your buddy’s weight system works.
Checking the Weight Belt Release
If your buddy has a weight belt, check that it has a right-hand release. This means the buckle opens easily when pulled with the right hand. Make sure no other straps (like the BCD waist strap) are trapped under or over it. In an emergency, you need to drop those weights fast. A tangled belt is a big no-go.
Checking Weight Placement and Trim
Are the weights even? If your buddy has all their weight on one side, they will be swimming sideways like a confused crab. Make sure the weights are balanced. Ask them: “Are your pockets locked?” Give the integrated weight pockets a little tug to make sure they won’t fall out randomly during the dive.
What happens if you skip this? Dropping a weight by accident means you will shoot up to the surface way too fast. That’s dangerous. Or, if you have too little weight, you’ll fight to swim down and burn all your air. Check the weights!
R – Releases
The “R” is for Releases. Scuba gear has a lot of straps, clips, and buckles. This step makes sure everything is strapped down tight so your gear doesn’t fall off while you are swimming.
Checking Gear Clips and Buckles
Start from the bottom and work your way up. Check the cummerbund (belly strap). Check the chest strap. Check the shoulder straps. Give them all a good pull. Make sure they click properly. Look out for sand stuck in the clips, which can jam them up.
Checking Tank Stability
This is crucial. Go behind your buddy and check the tank band. Give the tank a gentle shake. Is it locked tight? It shouldn’t slip. Also, check the safety strap that goes over the tank valve. If the main band breaks, that little strap will save the tank from falling off completely.
What happens if you skip this? Having a tank slip out of its strap underwater is stressful. It will hang low, bump your legs, and totally ruin the vibe of your dive. Secure those releases.
A – Air
The “A” stands for Air. This is arguably the most vital part of the pre-dive safety check. You need air to live down there, so you better make sure it’s flowing!
Checking the Tank Valve
First, physically check that the tank valve is open. A common pro-move is to open it all the way, and then turn it back a tiny quarter-turn. This stops the valve from getting jammed under pressure.
Testing the Regulator and Octopus
Have your buddy take a deep breath from their primary regulator (the one in their mouth) while looking at their air gauge. Then, they should take a breath from their Octopus (the yellow backup regulator). Does the air taste okay? Does it smell weird? If it smells like oil or exhaust, do not dive. Get a new tank.
Watching the Submersible Pressure Gauge (SPG)
When your takes a breath, lightly blow the air out from the octopus, watch the needle on their SPG (air gauge). Does it stay totally still? Good. If the needle drops down and bounces back up every time they breathe, it means the tank valve is only half-open. Stop, open it fully, and test again.
What happens if you skip this? Jumping in with a closed tank valve is a classic rookie mistake. You’ll breathe the air left in the hoses, take one breath underwater, and then suck dry air. It is scary, totally uncool, and 100% preventable with a good air check.
F – Final Check / Final Okay
The “F” is your Final Check or Final Okay. You checked the big stuff; now it’s time to check the details. Give your buddy a head-to-toe look.
Mask, Fins, and Snorkel Check
Where is their mask? Is it on their face or around their neck? Do not put the mask on your forehead. Are their fins nearby and ready to put on? Did they use defogger or baby shampoo in their mask so they can actually see the turtles?
Diving Accessories Check
Check the extras. Dive computer? Strapped to the wrist and turned on. Underwater camera? Clipped to a D-ring securely. Compass? Ready. Make sure nothing is dragging or hanging loose. Dangling gear can break fragile coral, and here at Nava Scuba Diving, we are a PADI ECO Center. We protect the reef!
Once you are both satisfied, give each other a big, clear “OK” sign. You are ready to dive!
Put BWRAF into Practice: Dive with Nava Scuba Diving in Koh Tao
Reading about the BWRAF scuba diving check is one thing, but practicing it in the crystal-clear waters of Koh Tao is another. Koh Tao is a diver’s paradise, famous for its warm water, colorful reefs, and epic marine life like whale sharks and sea turtles.
At Nava Scuba Diving, we don’t just teach you the rules; we build confident, smart divers. We are a PADI 5-Star Dive Center and a proud PADI ECO Center. Our experienced instructors will guide you through the pre-dive safety check until it feels like second nature. You won’t just memorize what does BWRAF stand for—you’ll understand the “why” behind every step.


Oubliez les retards de Lomprayah ! Découvrez Boonsiri Sealine Koh Tao, le nouveau ferry ponctuel vers Koh Tao. Consultez les horaires et les prix pour comprendre pourquoi c'est mieux.
What is a scuba diving buddy check? Learn the PADI buddy check steps (BWRAF) to keep your dives safe. Book your Koh Tao diving course with Nava Scuba Diving today!
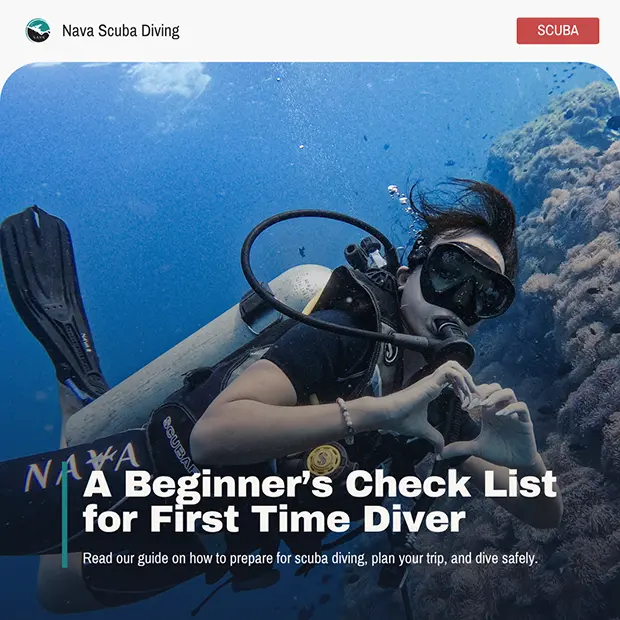
Nervous about your first time scuba diving? Read our beginner’s guide on how to prepare for scuba diving, plan your Koh Tao trip, and dive safely.

Travel to Koh Tao in 2026 in a new perspective with this Koh Tao Travel Guide, explore Koh Tao Dive Sites, embrace the Digital Nomad lifestyle, and Learn to Dive